Planting a Rainbow is one of my many favorites by Lois Ehlert. Her illustrations are striking and her text is simplistic yet descriptive. Planting a Rainbow follows the story of a mother and child as they plant a rainbow of colors in their garden. It follows the process of planting bulbs, seeds, and seedlings, and tending them as they grow, and grow, and grow. Finally they can gather a rainbow bouquet, knowing they can grow another rainbow the following year!
You can make this part of an author study by pointing out other books by Lois Ehlert (with one particular group, we had read Growing Vegetable Soup in conjunction with this seed activity, so I was able to hold the two up and make comparisons.) Talk about how Lois Ehlert is unique in that she doesn’t do her illustrations using crayons or markers or paint. She makes her pictures by cutting paper and gluing the shapes to make a picture. Go through the book a few pages and look at some of the shapes she uses to make different images. (Some children may be a little confused, since they can only see one smooth picture in the book. It may help to make a similar picture yourself so that the children can see the paper pieces put together. Then explain that Ehlert’s pictures are copied onto one flat paper that they see in their book.)
After reading the story, Planting a Rainbow, show the children how to make their own rainbow garden by using paper to create a picture. Please be careful here! Do not show them a model of what to create, but do demonstrate some techniques they can use if they wish. After the demonstration, they should be able to use the materials as they see fit. (Read more about my thoughts on the Spectrum of Preschool Arts and Crafts.)
As supplies, gather background paper, colored crepe paper or tissue paper cut into small squares (about 2 inches square), glue, and unsharpened pencils. Tell them that the different colors can be used to make a picture of a rainbow garden, similar to the one they read about in the book.
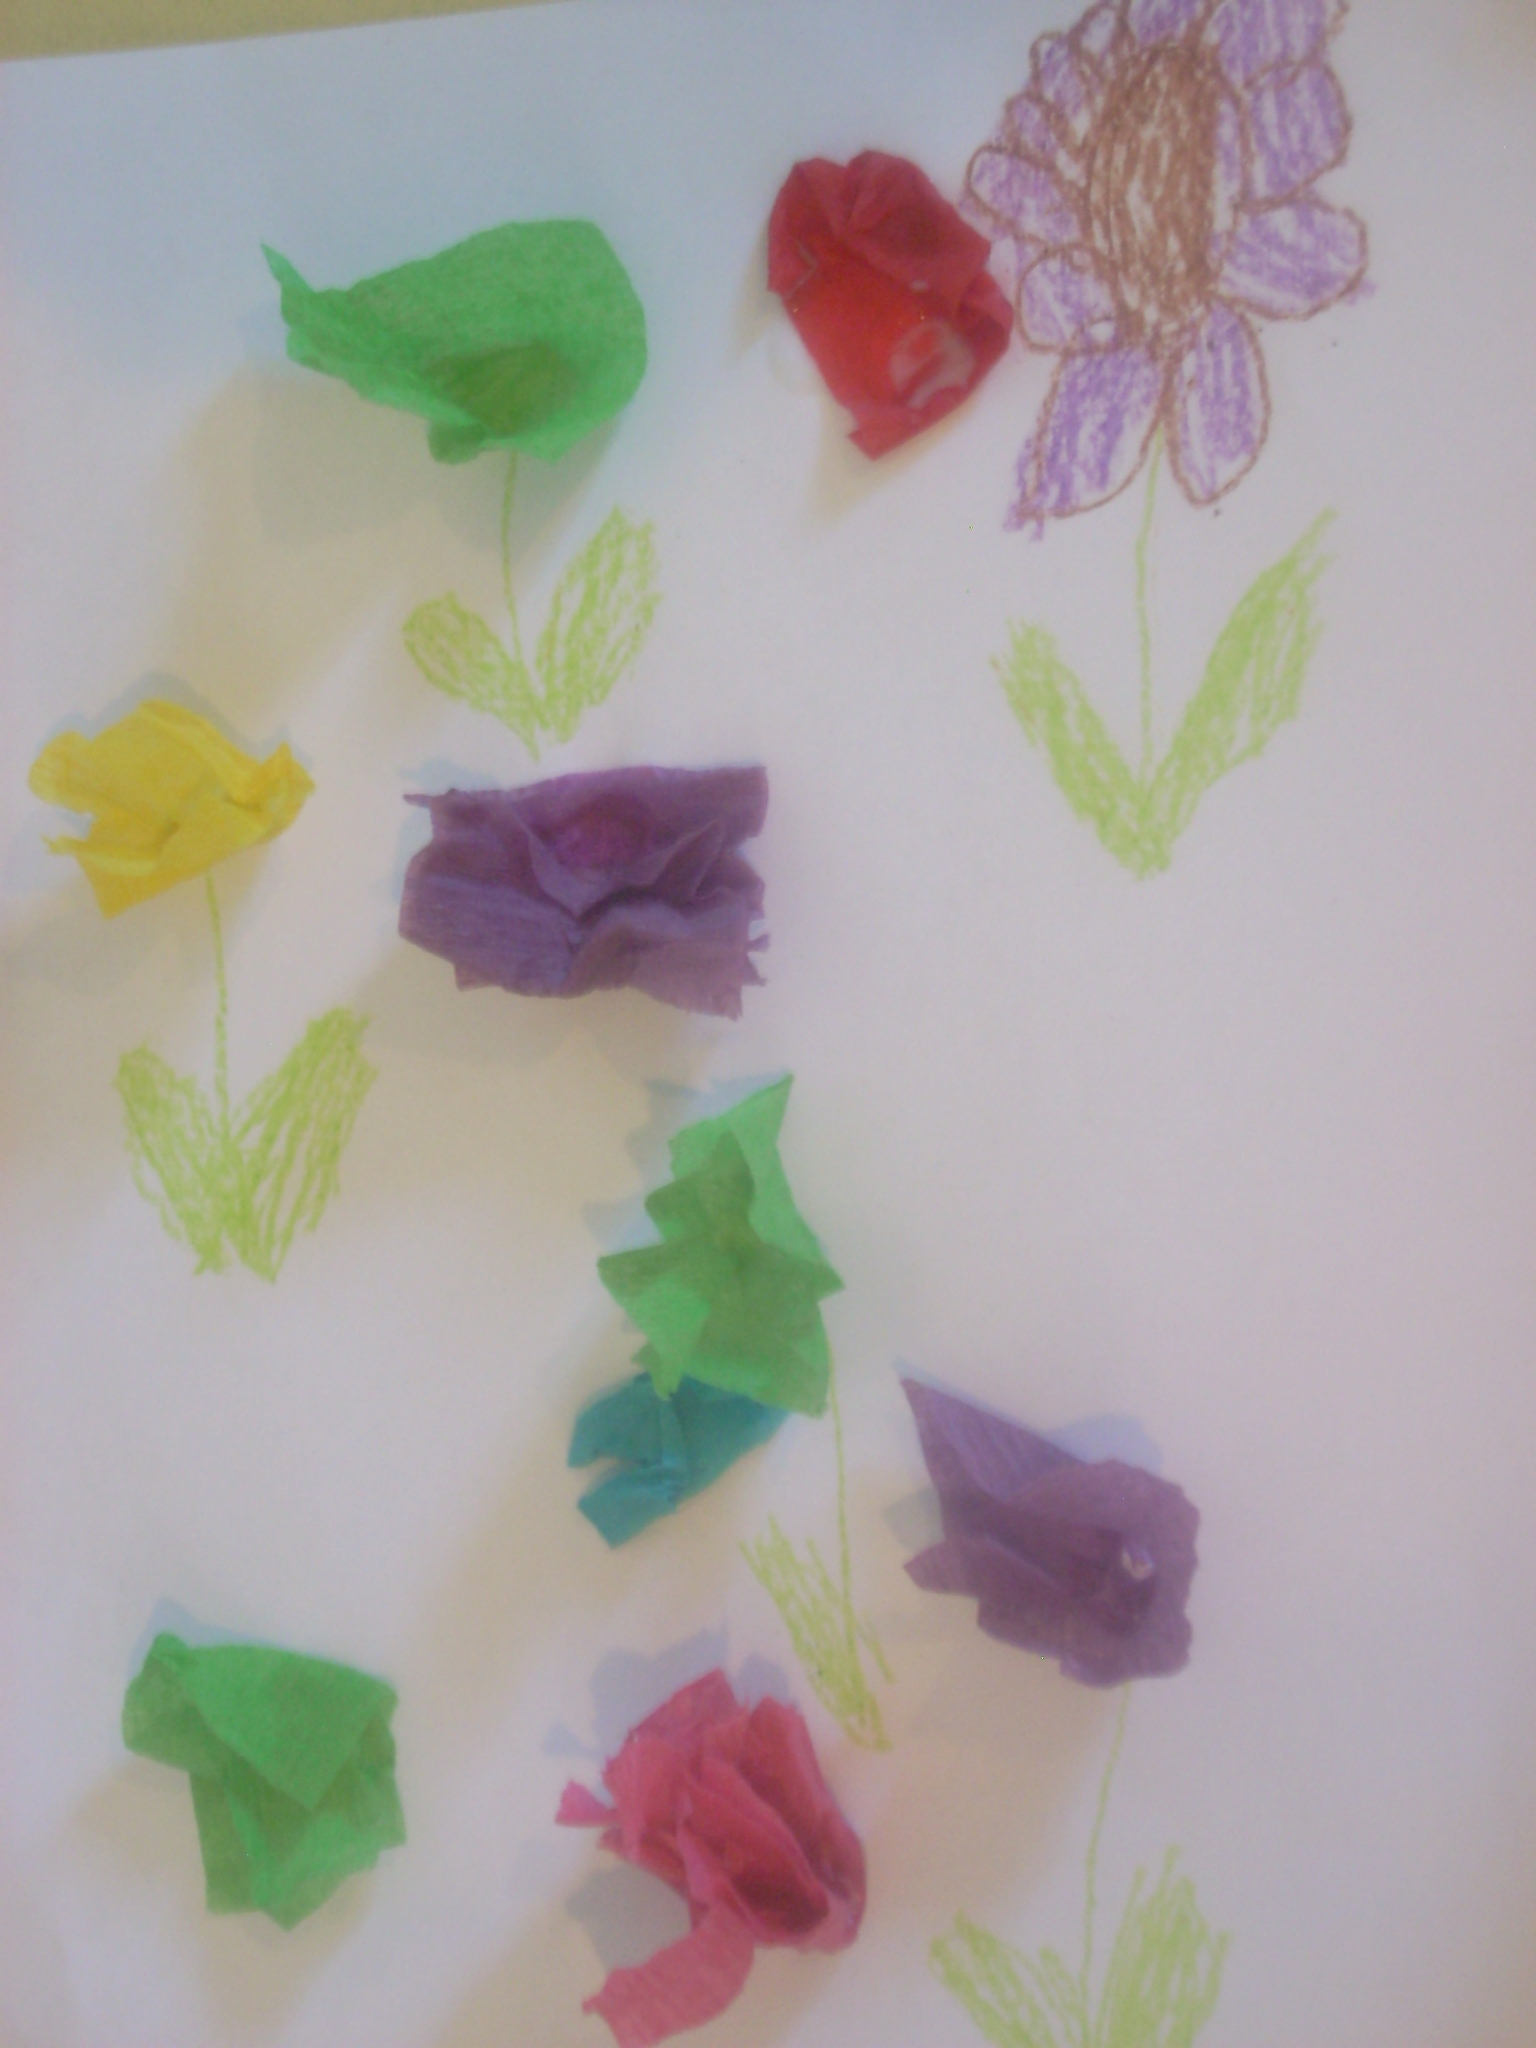
Show them that they can glue the colored paper onto their background paper. They can glue it right on, they can crumple it a little and glue it on, or they can wrap their colored paper onto a pencil and dip it in the glue and stick it on that way. Ask if they have any other ideas about how to use the materials to make a garden picture. Tell them to let you know if they get any new ideas as they’re working! Let them know that they can also use the crayons to add to the picture if they need to (markers don’t fare so well in the glue). Then set them loose!
Some will experiment with different ways to apply the colored paper.

Others will know exactly what they want to do.

This is the way I learned to do this technique way back when I was a child.

However, I’ve also seen it done this way, which may be easier for younger children.

Either way, the children are building fine motor skills as well as creativity. As you talk about the pictures and make connections to the book, the children are also building language and literacy skills and becoming more familiar with names of colors.
Enjoy watching your rainbows grow!
For more Seeds & Plants activities, click here.
[…] Not Just Cute – Producing Planting a Rainbow like illustrations […]